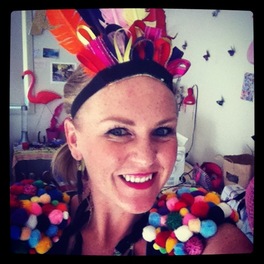
 Today's Revamped D.I.Y Project is for those who adore being colourful, fun and free! My TWEEN group at the Ultimo After School Care program LOVED today's project and so did I. There are two parts to this project: the headpiece and the bolero. I'll start with the headpiece (which only took me about 40 minutes to create).  What you will need: - straw hat - craft scissors - hot glue gun and hot glue - feathers, zips, ribbons - 2.5cm wide elastic I started the project with a hat, some feathers, ribbons and zips, and a few ideas.... "What is this hat's new destiny? What will it become?" I was thinking of a neck piece, a visor, a necklace pennant... eventually once I started building, the headpiece evolved! 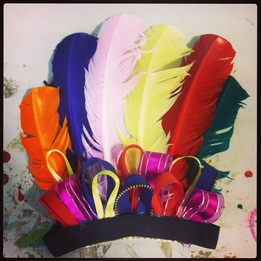 Firstly I cut a 15cm section from the brim of the hat, which I used as the base for the headpiece. I chose to mount the feathers on top of this, if you placed the feathers behind the base the straw would be exposed and you could also use it as a feature. In class today students were gluing chains, pom-poms, foam hearts, letters, and gems onto the straw. I think it could also look great if the edges were frayed or even painted. I chose to decorate the front of the feathers using strips of ribbon and zips. I used a variety of colours, widths and textures which I think made it look interesting. To make the headband I joined a piece of elastic to form a band around my head, then I hot glued it onto the front of my colourful, feathered creation! 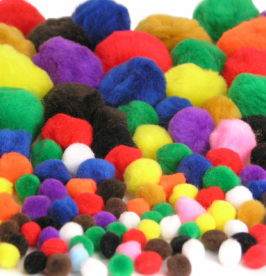 The fabulous pom-pom bolero was inspired by Nicki Ninaj's famous outfit. I love the big shoulders as it feels fun and glamorous to wear, and really helps to create an hourglass shape. What you will need: - Craft pom-poms in a variety of colours and sizes.- Hot glue gun and hot glue - A bolero or cardigan (you can cut the sleeves short). This garment was very simple to make. Sewing skills are not necessary. Tough hands (as you probably will get burnt by the hot glue) and an artistic flair are essential! 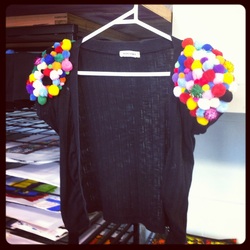 Firstly, put your favorite booty shakin music on really loud. Next, either place the bolero on a hanger or on a dress maker's mannequin, then, start randomly gluing the pom-poms onto the sleeve and shoulder until the shoulders are puffy and full. It's quite nice to dance as your doing the gluing. That's it! It's very simple and I found the process to be quite therapeutic (apart from the occasional hot glue burn. Because hot glue is involved, this garment is more of a costume rather than a wash-n-wear item. If you would like to make this washable then hand-stitch the pom-poms on and shimmy down the street knowing that it's ok to sweat this garment up as you can hand-wash it when you get home! Enjoy wearing your rainbows! If you have some Revamped Rainbow creations of your own please feel free to post them on the Revamped Fashion Facebook Page. The Revamped community love to be inspired by your sharing!
1 Comment
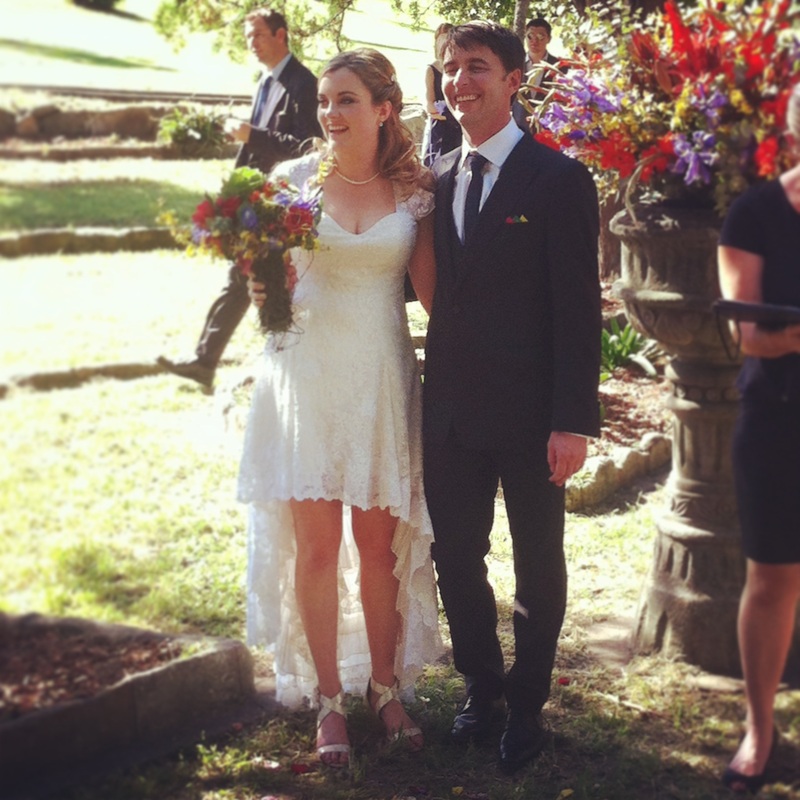
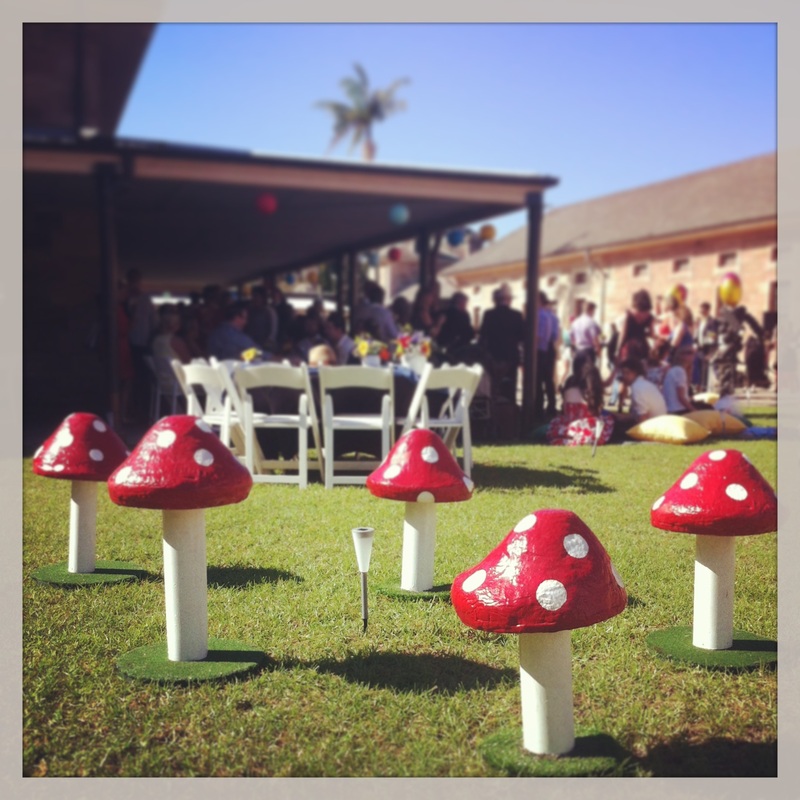
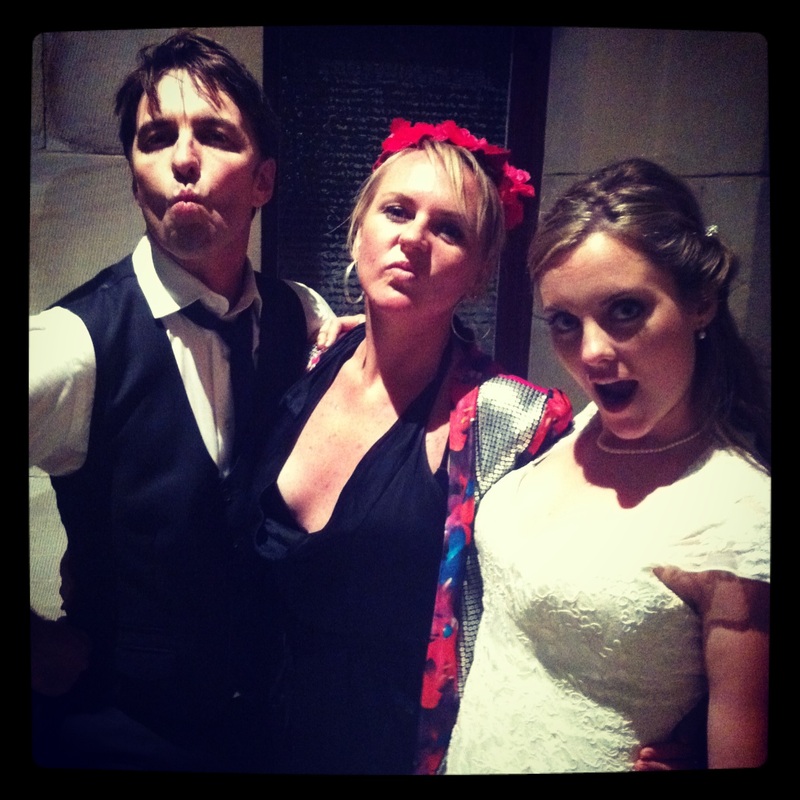
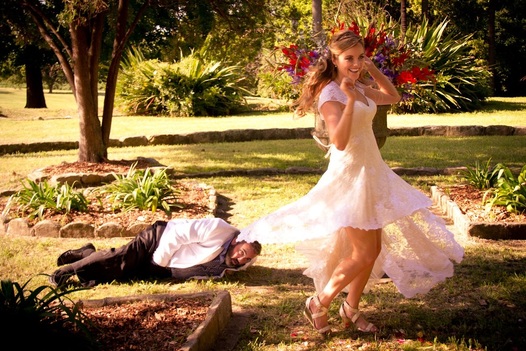 This picture sums up the ceremony perfectly! A whimsical wedding where two comedians unite! (The guy on the ground is a groomsman and I think he's trying to look up Laura's dress.... Thank you for the great picture Sexton Blake. On Saturday, March 9th, I had the absolute pleasure of attending the wedding of my good friends Laura and Bryan. This wedding was extra special for me as the bride's dress was my very first Revamped Bridal gown! This dress took two bridal gowns, over sixty cut pattern pieces, and eighty-one hours of sewing (over fifty of those were sewn by hand). Laura was referred to me after she posted on Facebook "I have my mum's wedding dress and my grandmother's wedding dress, and I need someone to make my wedding dress from them. Anyone know someone who can do that?" Sounds like a match made in heaven to me! 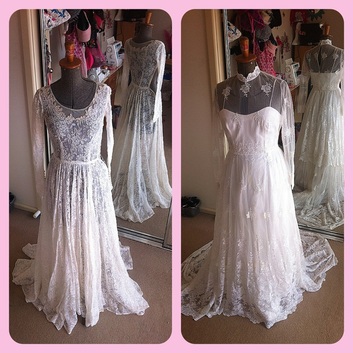 1950's on the left, 1980's on the right. Laura's grandmother had kept her beautiful, hand-made gown in perfect condition since the 1950's. The flat lace design was divine and the dress had beautiful frilly petticoats and a night slip to go with it. Laura's mother's dress was a classic gown from the 1980's. It had a beautiful long train with detailed lace designs and scolloped edges. I knew this dress (and it's beautiful edging) would be ideal to create the train. There were lots of flowers on the bottom with beautiful vines that crept up.  This shot shows the blending of the laces. The brief for the dress was: - Drama - Comfort - Danceability - Whimsical Laura had been collecting inspiration pictures for a couple of months, so when it was time to sit down and design her dream dress we had a lot of fun! When designing Laura's dress I needed to take into account the materials I had to work with. I actually managed to create Laura's dress and under skirt using about 97% materials from her mother's and grandmother's dresses. The only new things I needed to purchase were the metal boning for the corset, some calico which I used inside the bodice, a ribbon I used as the band for the petticoat, sewing threads, and some hooks and eyes. Everything else was revamped! 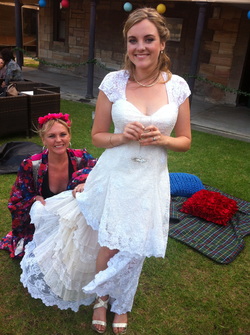 A great shot of the petticoat. The many hours of hand sewing were spent on combining the two laces. Laura's grandmother's dress was ivory and Laura's mother's dress was white, so it was important to seamlessly combine the two. I spent many hours, carefully trimming around the flowers and vines of the white dress and hand stitching them, flat onto the ivory lace. I'm so pleased I took the time to do this because, as you can see in many of the pictures, the white flowers seem to pop-out (in an iridescent way) in certain light. The final touch of the dress was the petticoat. I created the can-can style skirt with the frill on the inside. The frills added the drama Laura was looking for, in a non-bulky way. The petticoat is a great piece on it's own and it was created from the beautiful frills and lace I found on the undergarments from Laura's grandmother's dress. 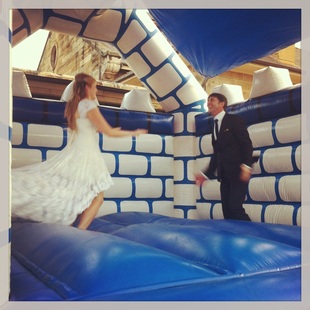 The 'Bridal Jump'! Laura and Bryan had such a wonderful day and I'm so happy for them! It was wonderful to see Laura looking so comfortable and carefree all day! The dress came up a treat in the 'Bridal Jump' (yes they had a jumping castle at their reception)! No restrictions at all. Congratulations Laura and Bryan and thank you so very much for this amazing opportunity! If you would like to have a Revamped Couture Creation for your special day (or if you know someone else who would like one), please don't hesitate to contact me and we can start planning. Bridal, formal, cocktail or other special occasions. I would love to create a special piece just for you! Now here are some more pictures from that special day. Enjoy! 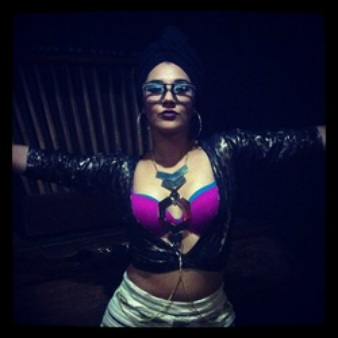 I was shopping with my good friend ALPHAMAMA on Saturday, in preparation for her gig. It had been a while since her last big show and we wanted to make an impact! I totally fell for these metallic, leopard print leggings. We bought the leopard print leggings, a skirt, I bought myself a pair of leggings, then ALPHAMAMA had this fantastic idea! "I want to cut a hole in the crotch and wear the leggings as a top." What a fabulous idea! As you can see from the above picture, it looks hot, Hot, HOT! To create this look I started out by cutting a neck hole in the crotch. Have a look at a t-shirt and you'll see that the neck hole is cut straighter in the back and have more of a scoop in the front. Use one of your t-shirts as a guide to measure how big to cut the hole. Once ALPHAMAMA tried the leggings (which are now a top) on, we decided how to customize. ALPHA wanted to show some more skin, so I cut the centre back crotch seam straight down the back, stopping at the elastic (waistband). Voila! That's it. So quick and simple and so effective! So many of the audience commented on how great ALPHAMAMA's performance was and also how great she looked! How else could you convert your leggings? Plenty of times I've converted stockings into shrugs, and cut up fishnets to wear as sleeves. Head on over to the Revamped Fashion Facebook page and share your ideas of ways to convert leggings. |
AuthorI am a freelance designer and stylist who creates avant-garde fashion and costume. I specialize in custom making costumes for musicians, physical theatre, and dance companies. I love what I do and I love to share my passion and teach others :D Archives
April 2017
Categories
All
|



 RSS Feed
